How to add profile definition in PBX Schueco CAM
Not all Schuco profiles are existing in PBX Schueco CAM software. If you cannot find profile number, you must create one.
This process is performed by exporting profile file from Schucal and importing it to SchueCAM.
Let’s go through the example of creating two profiles: no. 435940 and 435950.
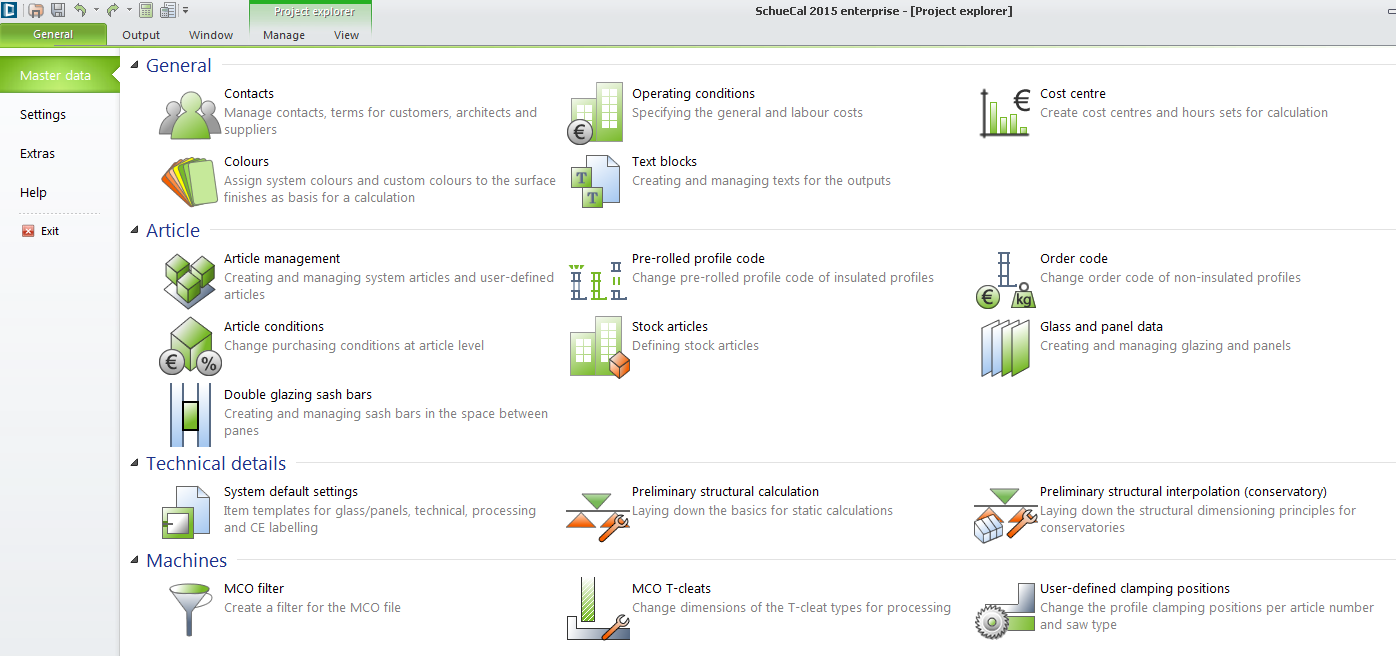
To do that, open Schucal first and go to General > Master data > User-defined clamping position:
In the User-defined clamping position click button windows click button Art. No. and type number 435940. After confirming OK you will be asked for another profile number, type then 435950 and OK. When finished click Cancel to leave this window:
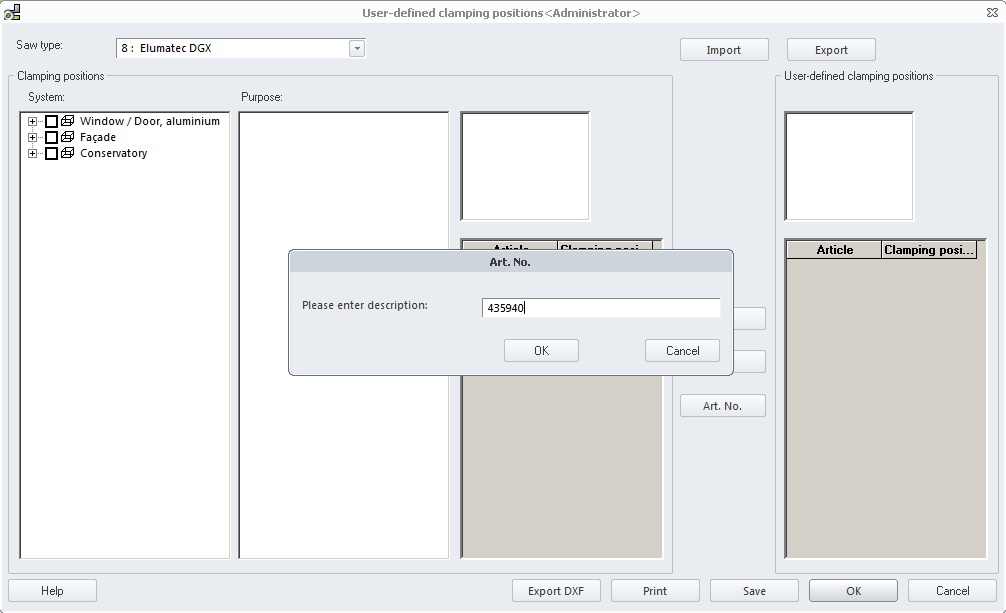
After successful profile selection, click button Export DXF. You must define some folder where files will be saved, in our example C:\Temp. Click OK:

After successful export we can close Schucal. First export phase is done.
Now let’s focus on the second phase – import profiles into SchuCAM.
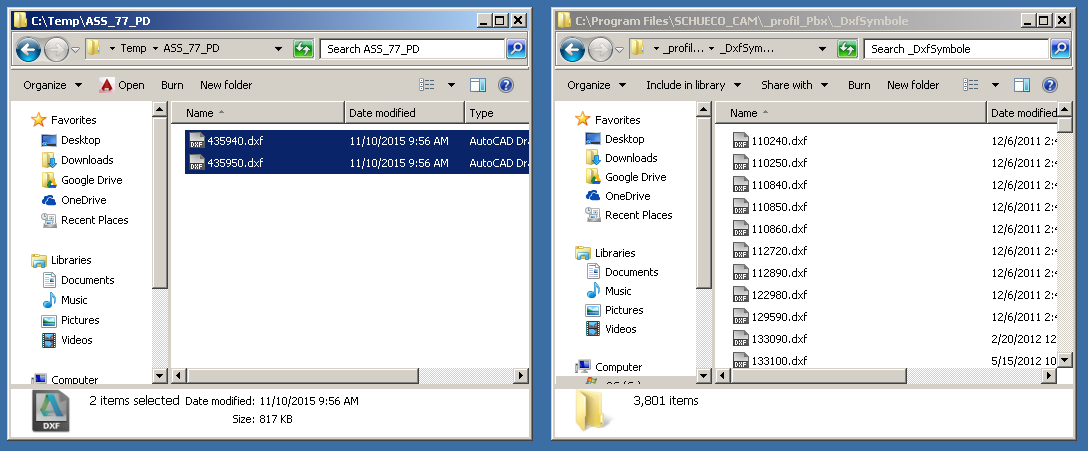
Open the folder defined as Target directory (C:\Temp) and navigate to subdirectory created by Schucal, which is usually the name of the Schuco system that profiles are belonging to (ASS_77_PD in our example). Open second directory where SchuCAM keeps dxf files:
C:\Program Files\SCHUECO_CAM\_profil_Pbx\_DxfSymbole (‘Program Files’ can vary depending of SchuCAM installation path)
Copy both .dxf files from Schucal export directory to SchuCAM directory:
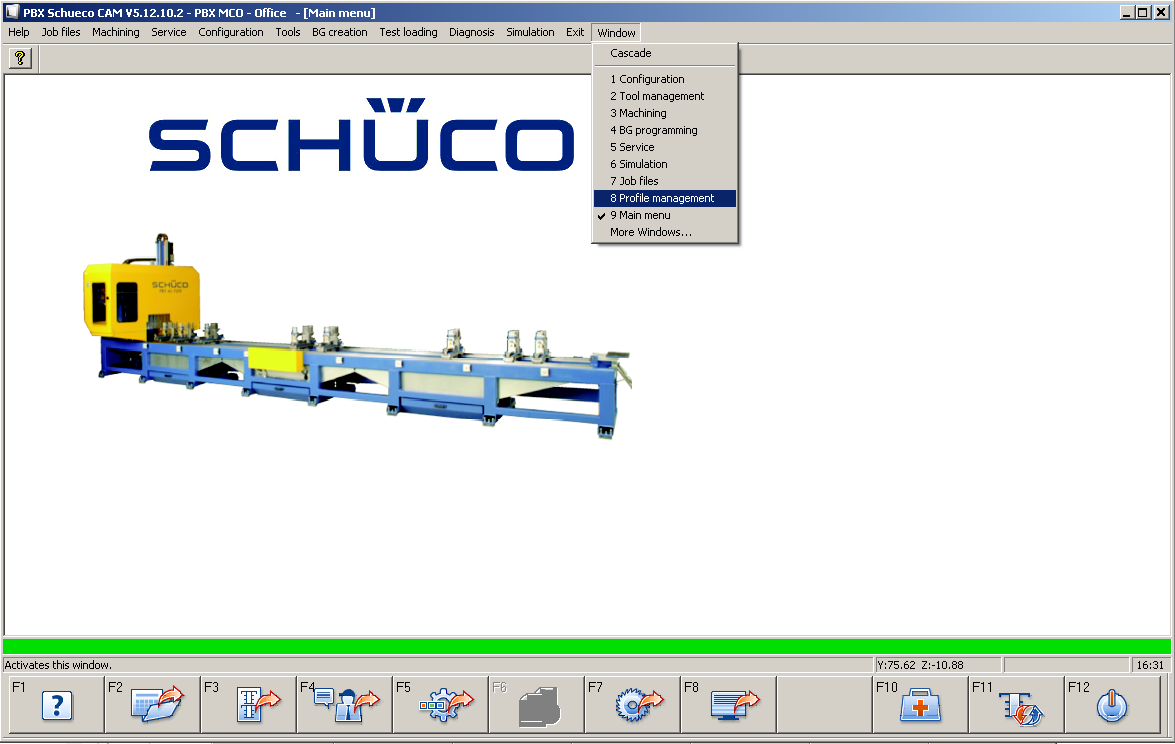
pen application and go to Window > 8 Profile management:
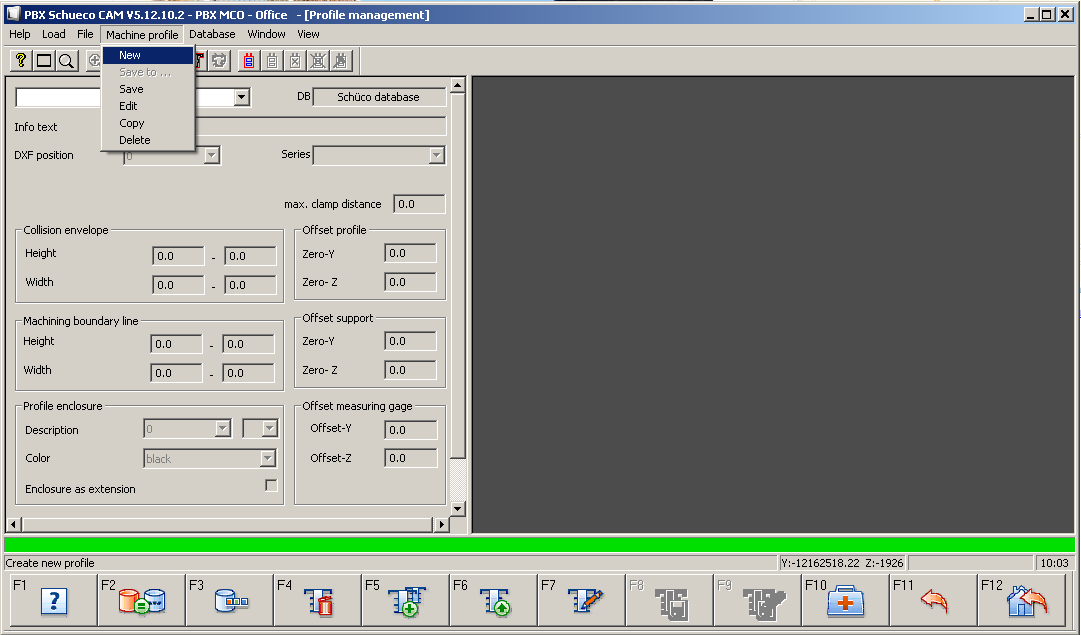
In profile management window go to menu Machine > New:
ype profile number being sure to keep and do not change dot and two zeros (.00) as an extension, e.g. 123456.00
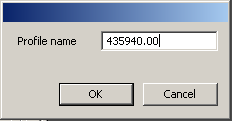
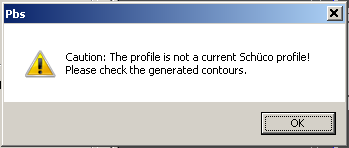
Confirm OK. Ignore message window about profile system incompatibility by clicking OK.
You should now see the profile on preview window. Now this is a time to edit additional parameters. Go to menu Machine > Edit
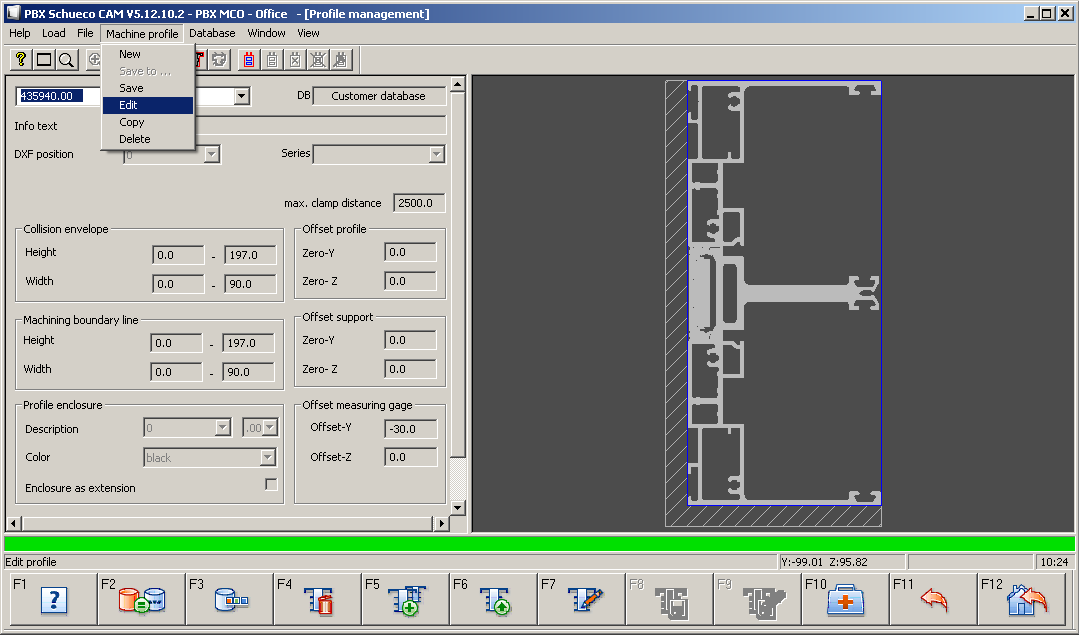
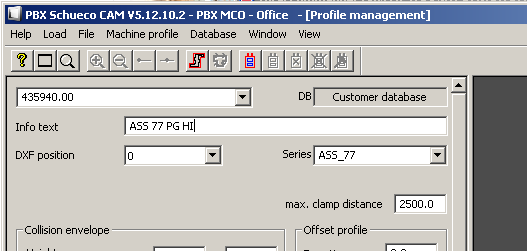
Type profile description in Info text field, e.g. Schuco system name. Choose or type Series name if you won’t find it on the list. Also you can rotate the profile by choosing proper value in DXF position:
Pay attention to the blue boundary line around newly imported dxf profile – it should be exact external boundary of this profile geometry; if it is bigger or smaller and interferences with profile shape, you have to fix it by clicking button Edit enveloped polyline and then Created enveloped polyline automatically:
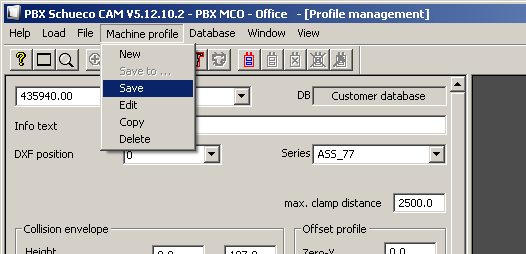
Now we can save this form by Machine profile > Save.
Now this is the time to prepare same import process for second profile 435950.
Done. Import is finished.